A $56 USD speed coach for paddling.

The Xoss G/G+ is an affordable solution for live technical feedback during training. Other options marketed to paddlers tend to cost around $400 and are marketed independently for surfski, SUP and outrigger - meaning if you paddle all three you would have to spend around $1200 for standalone units. I spent $37 USD on the Xoss G/G+ and $19 USD for a standalone cadence sensor, which I can use with all of my vessels.
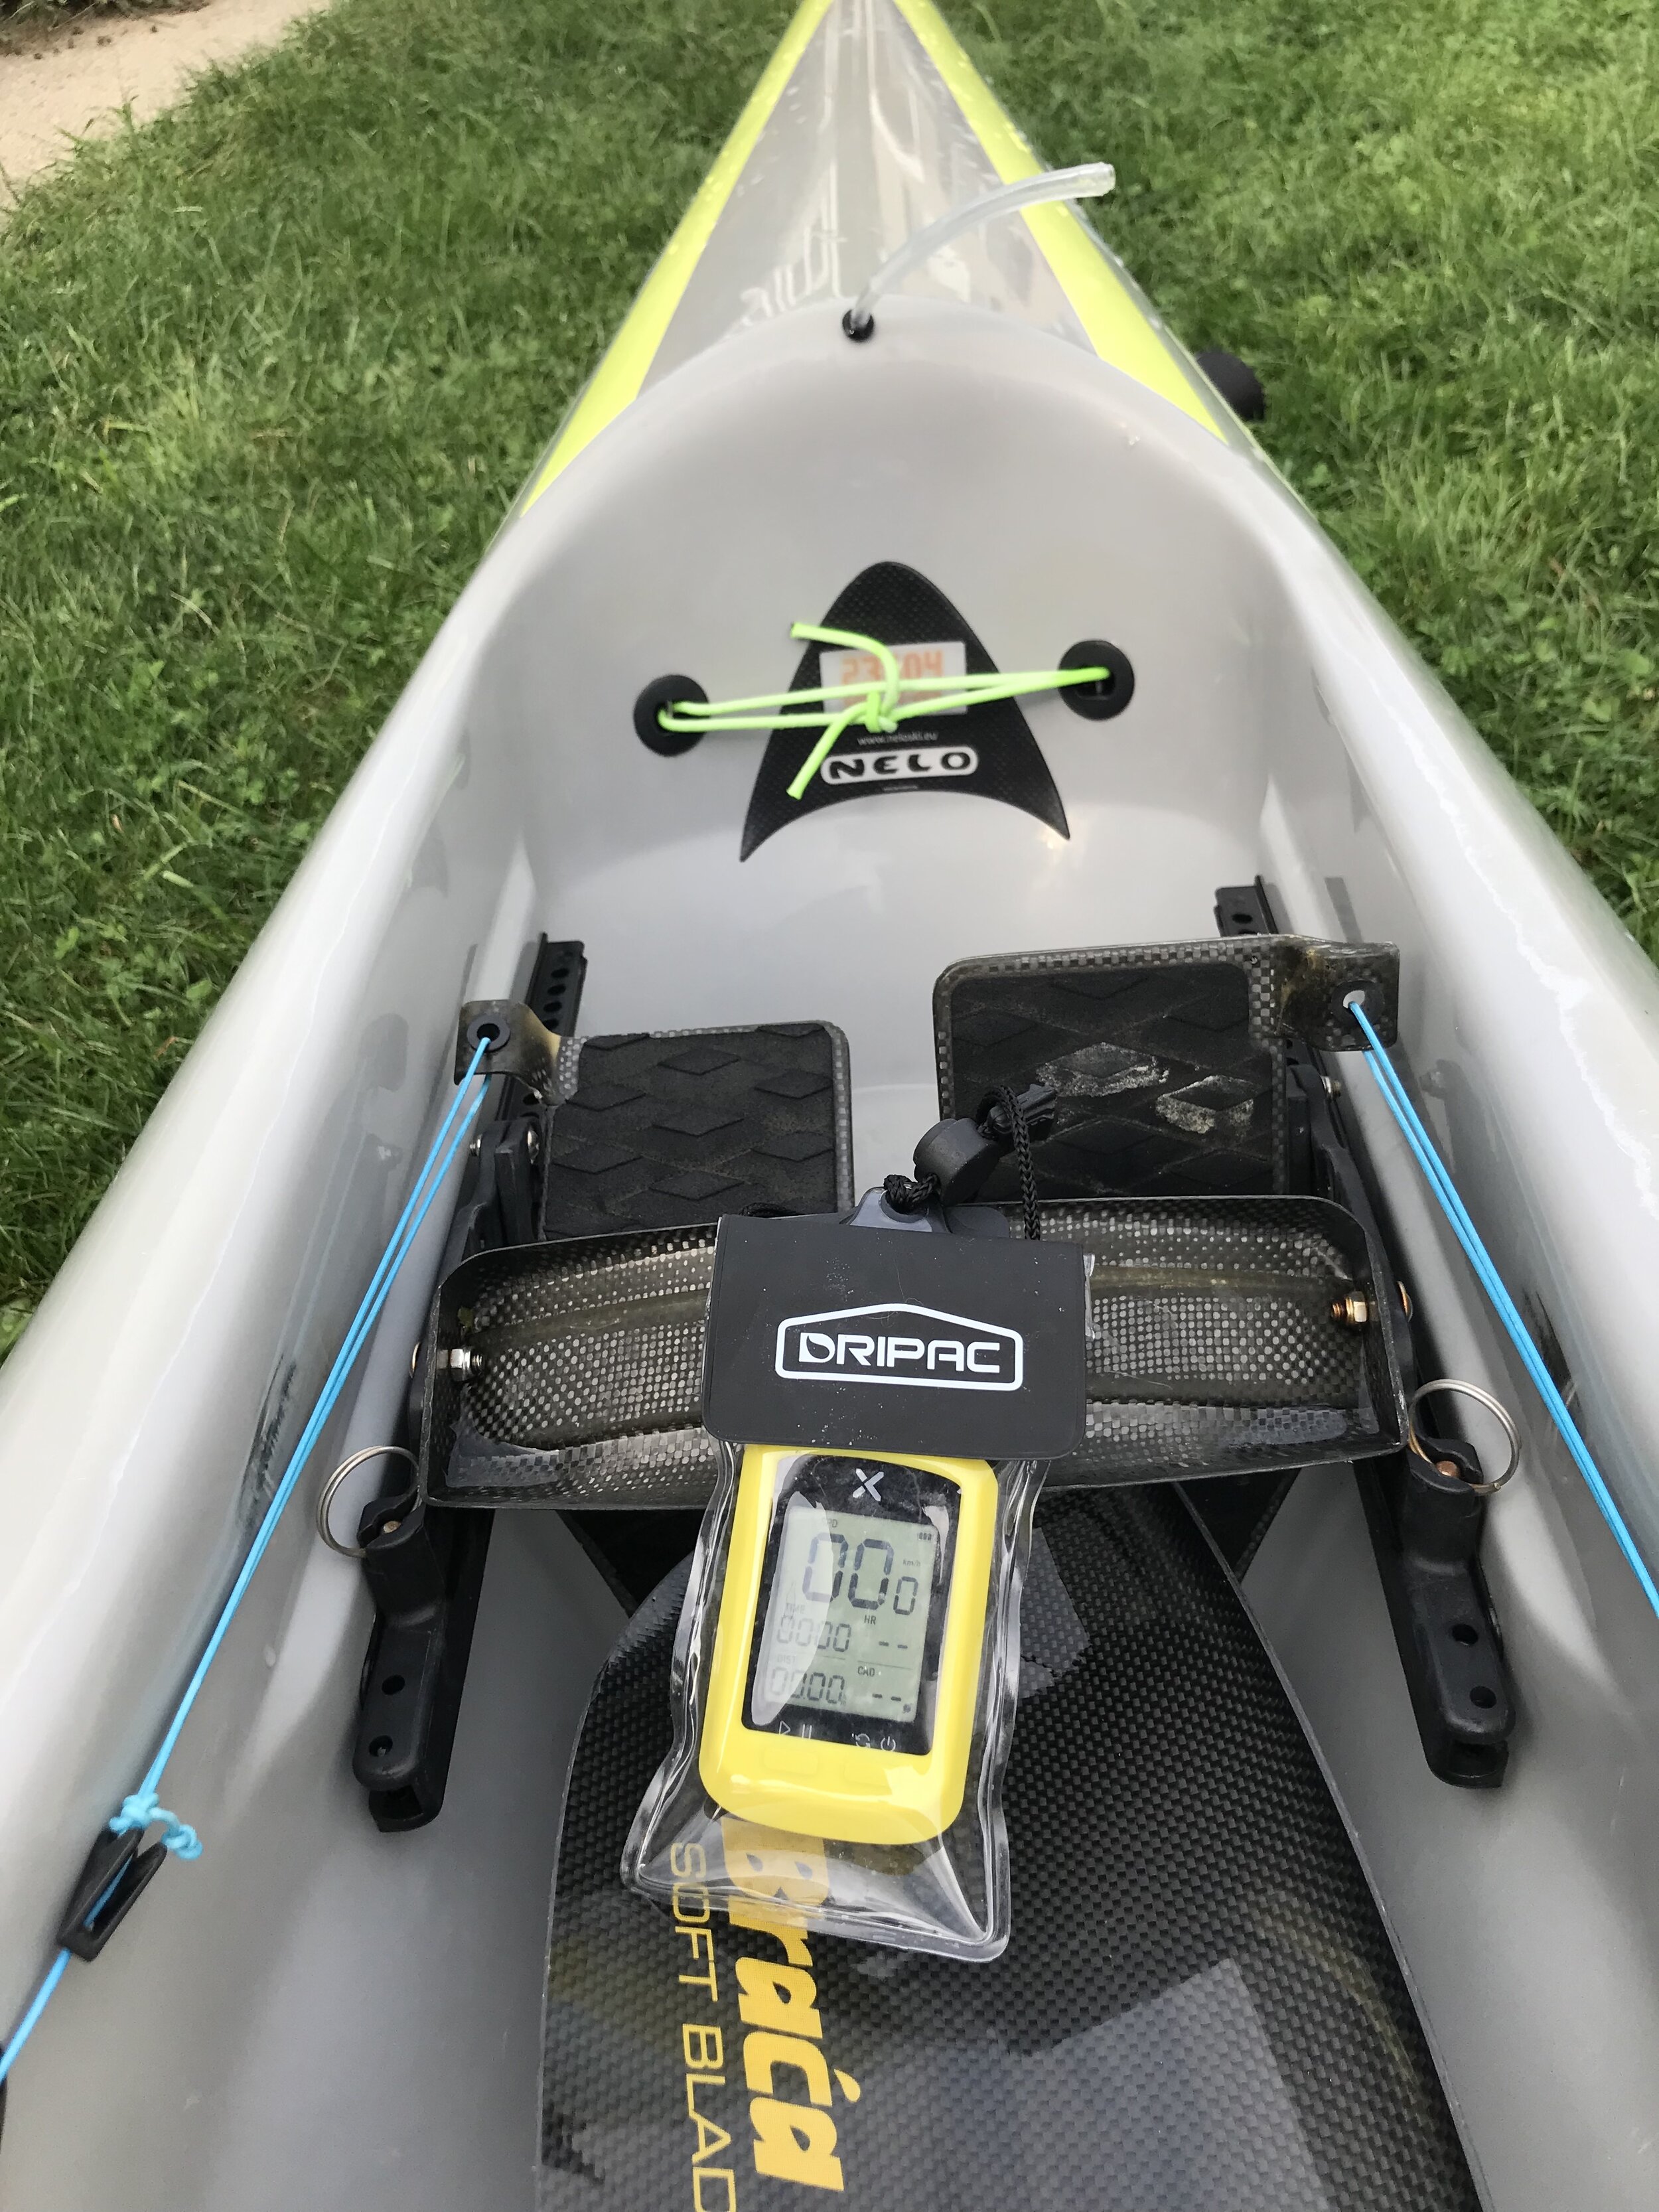
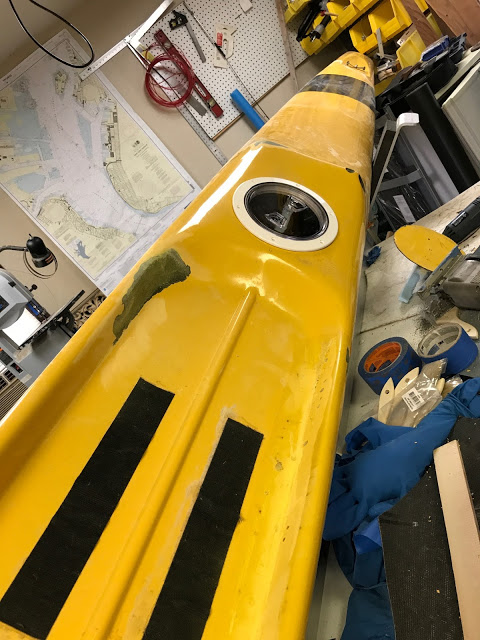
Connected to the foot brace on my Nelo 520.
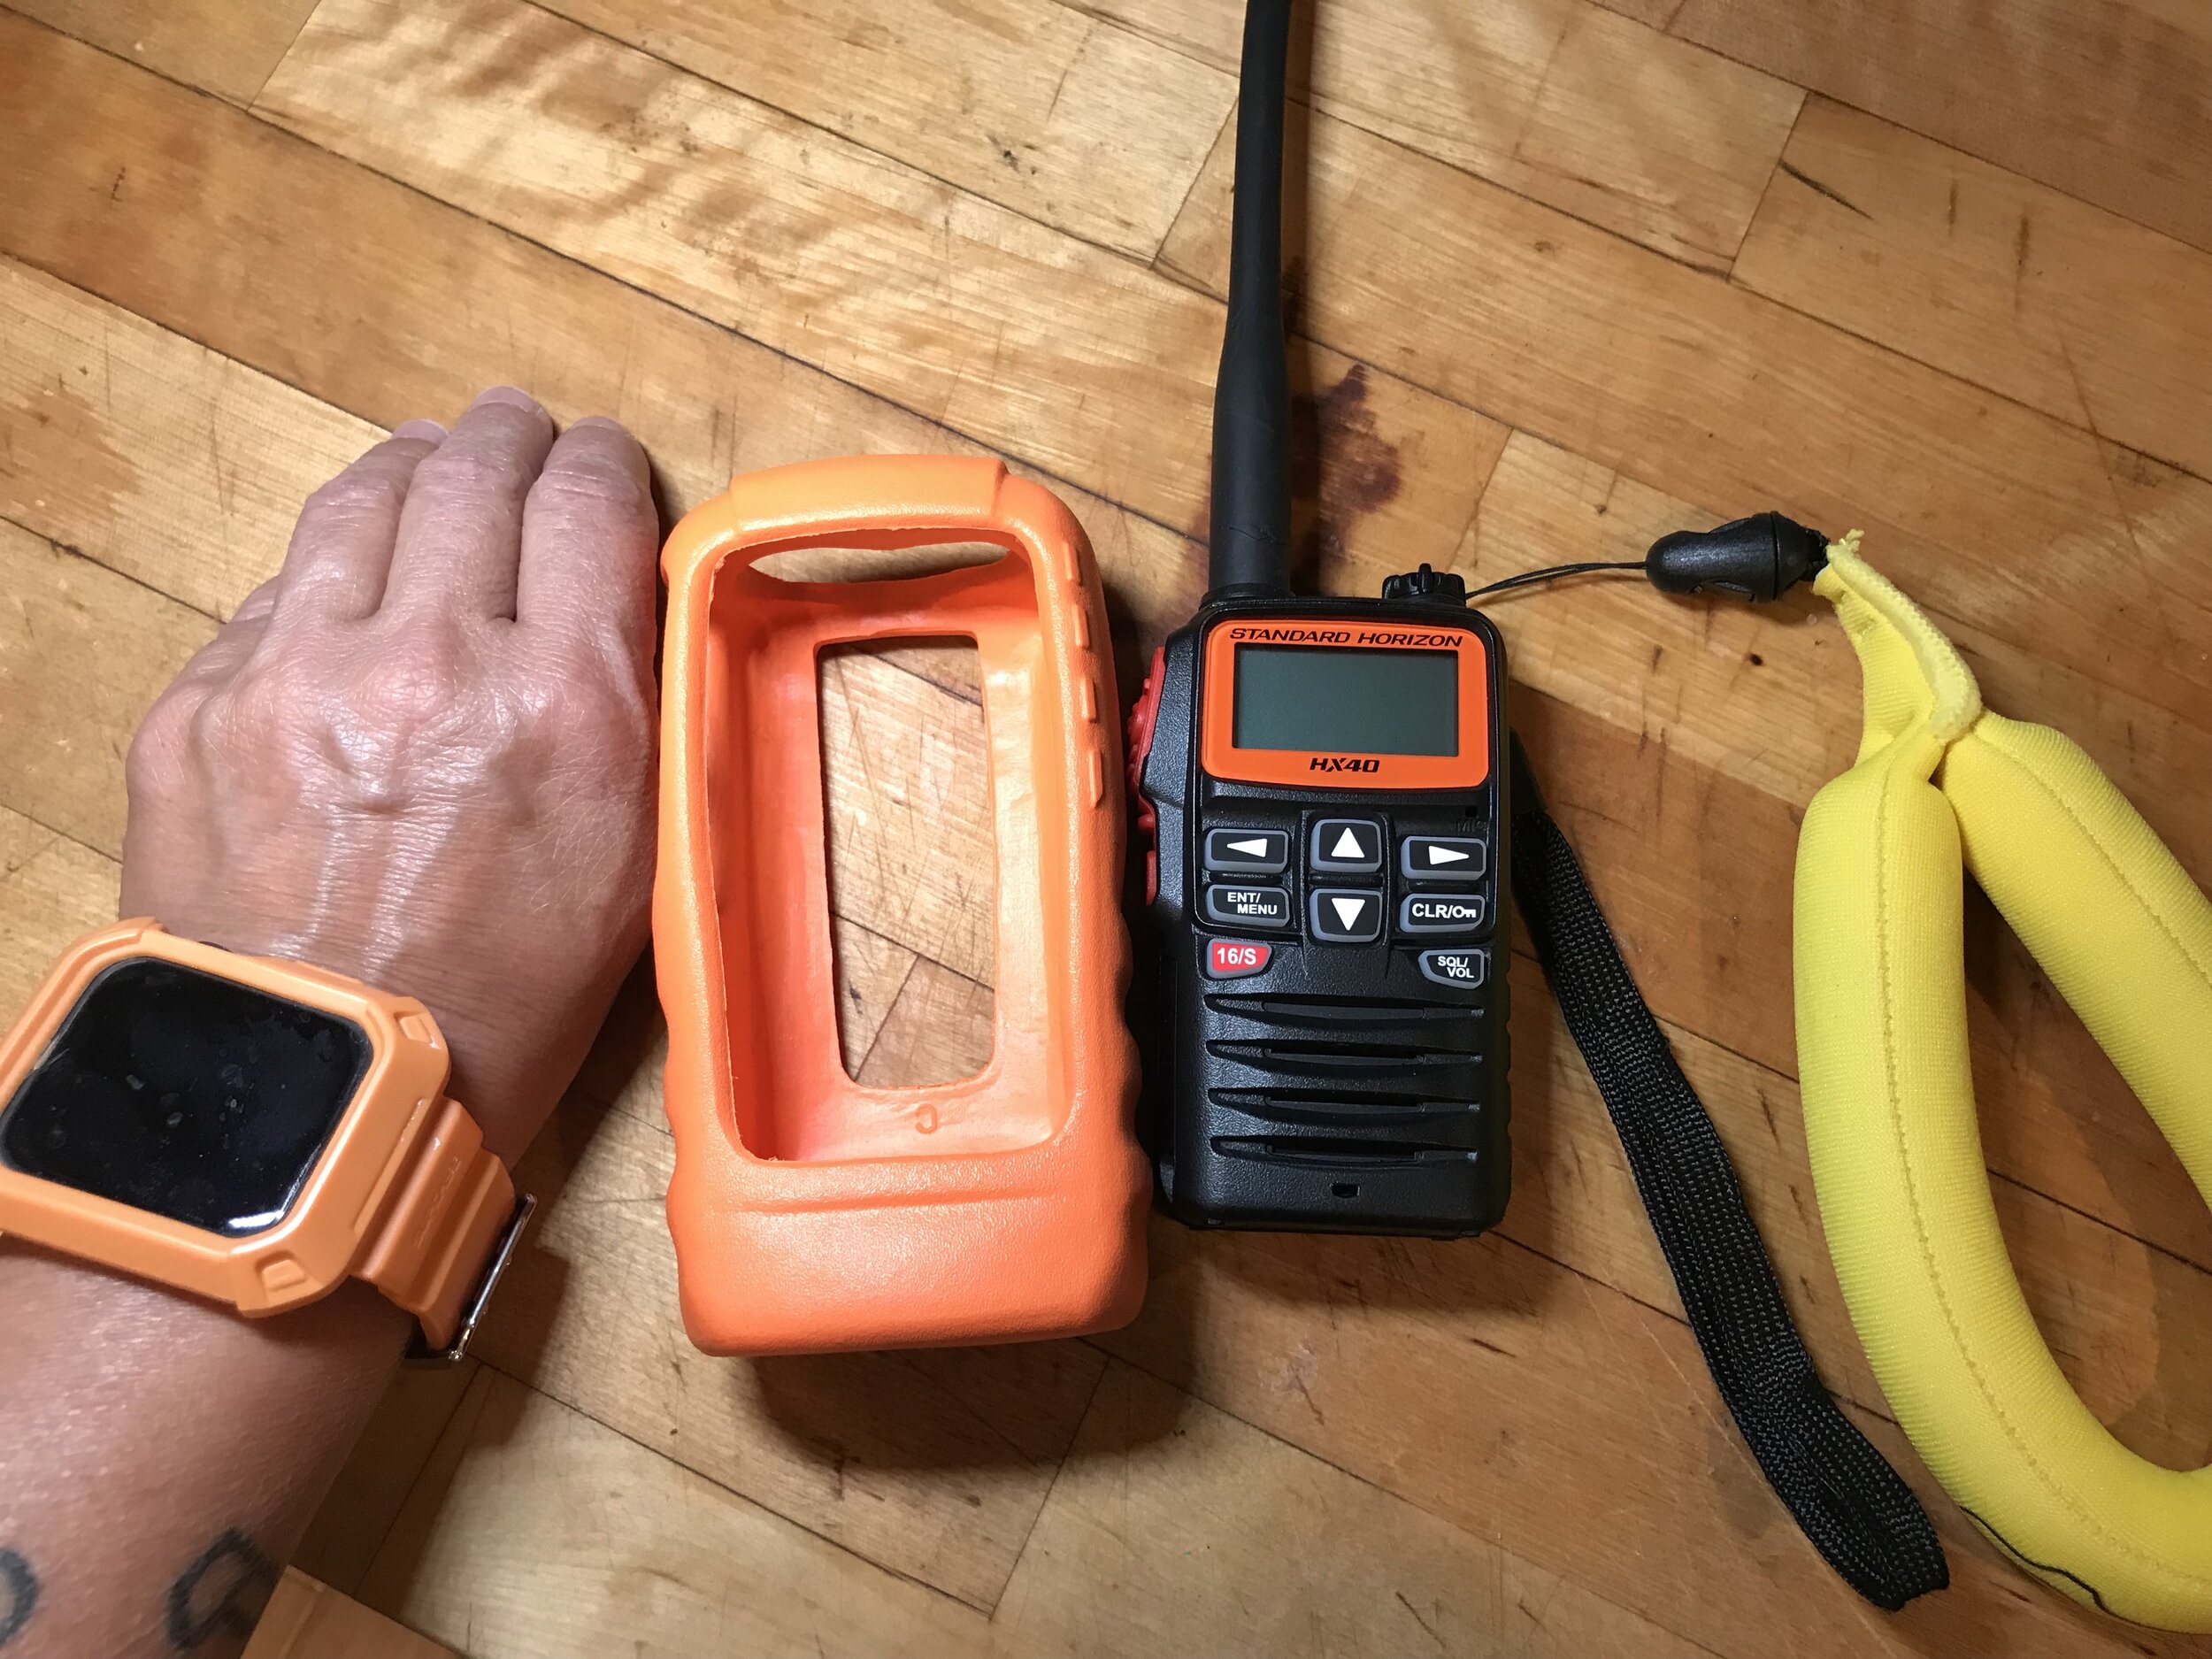
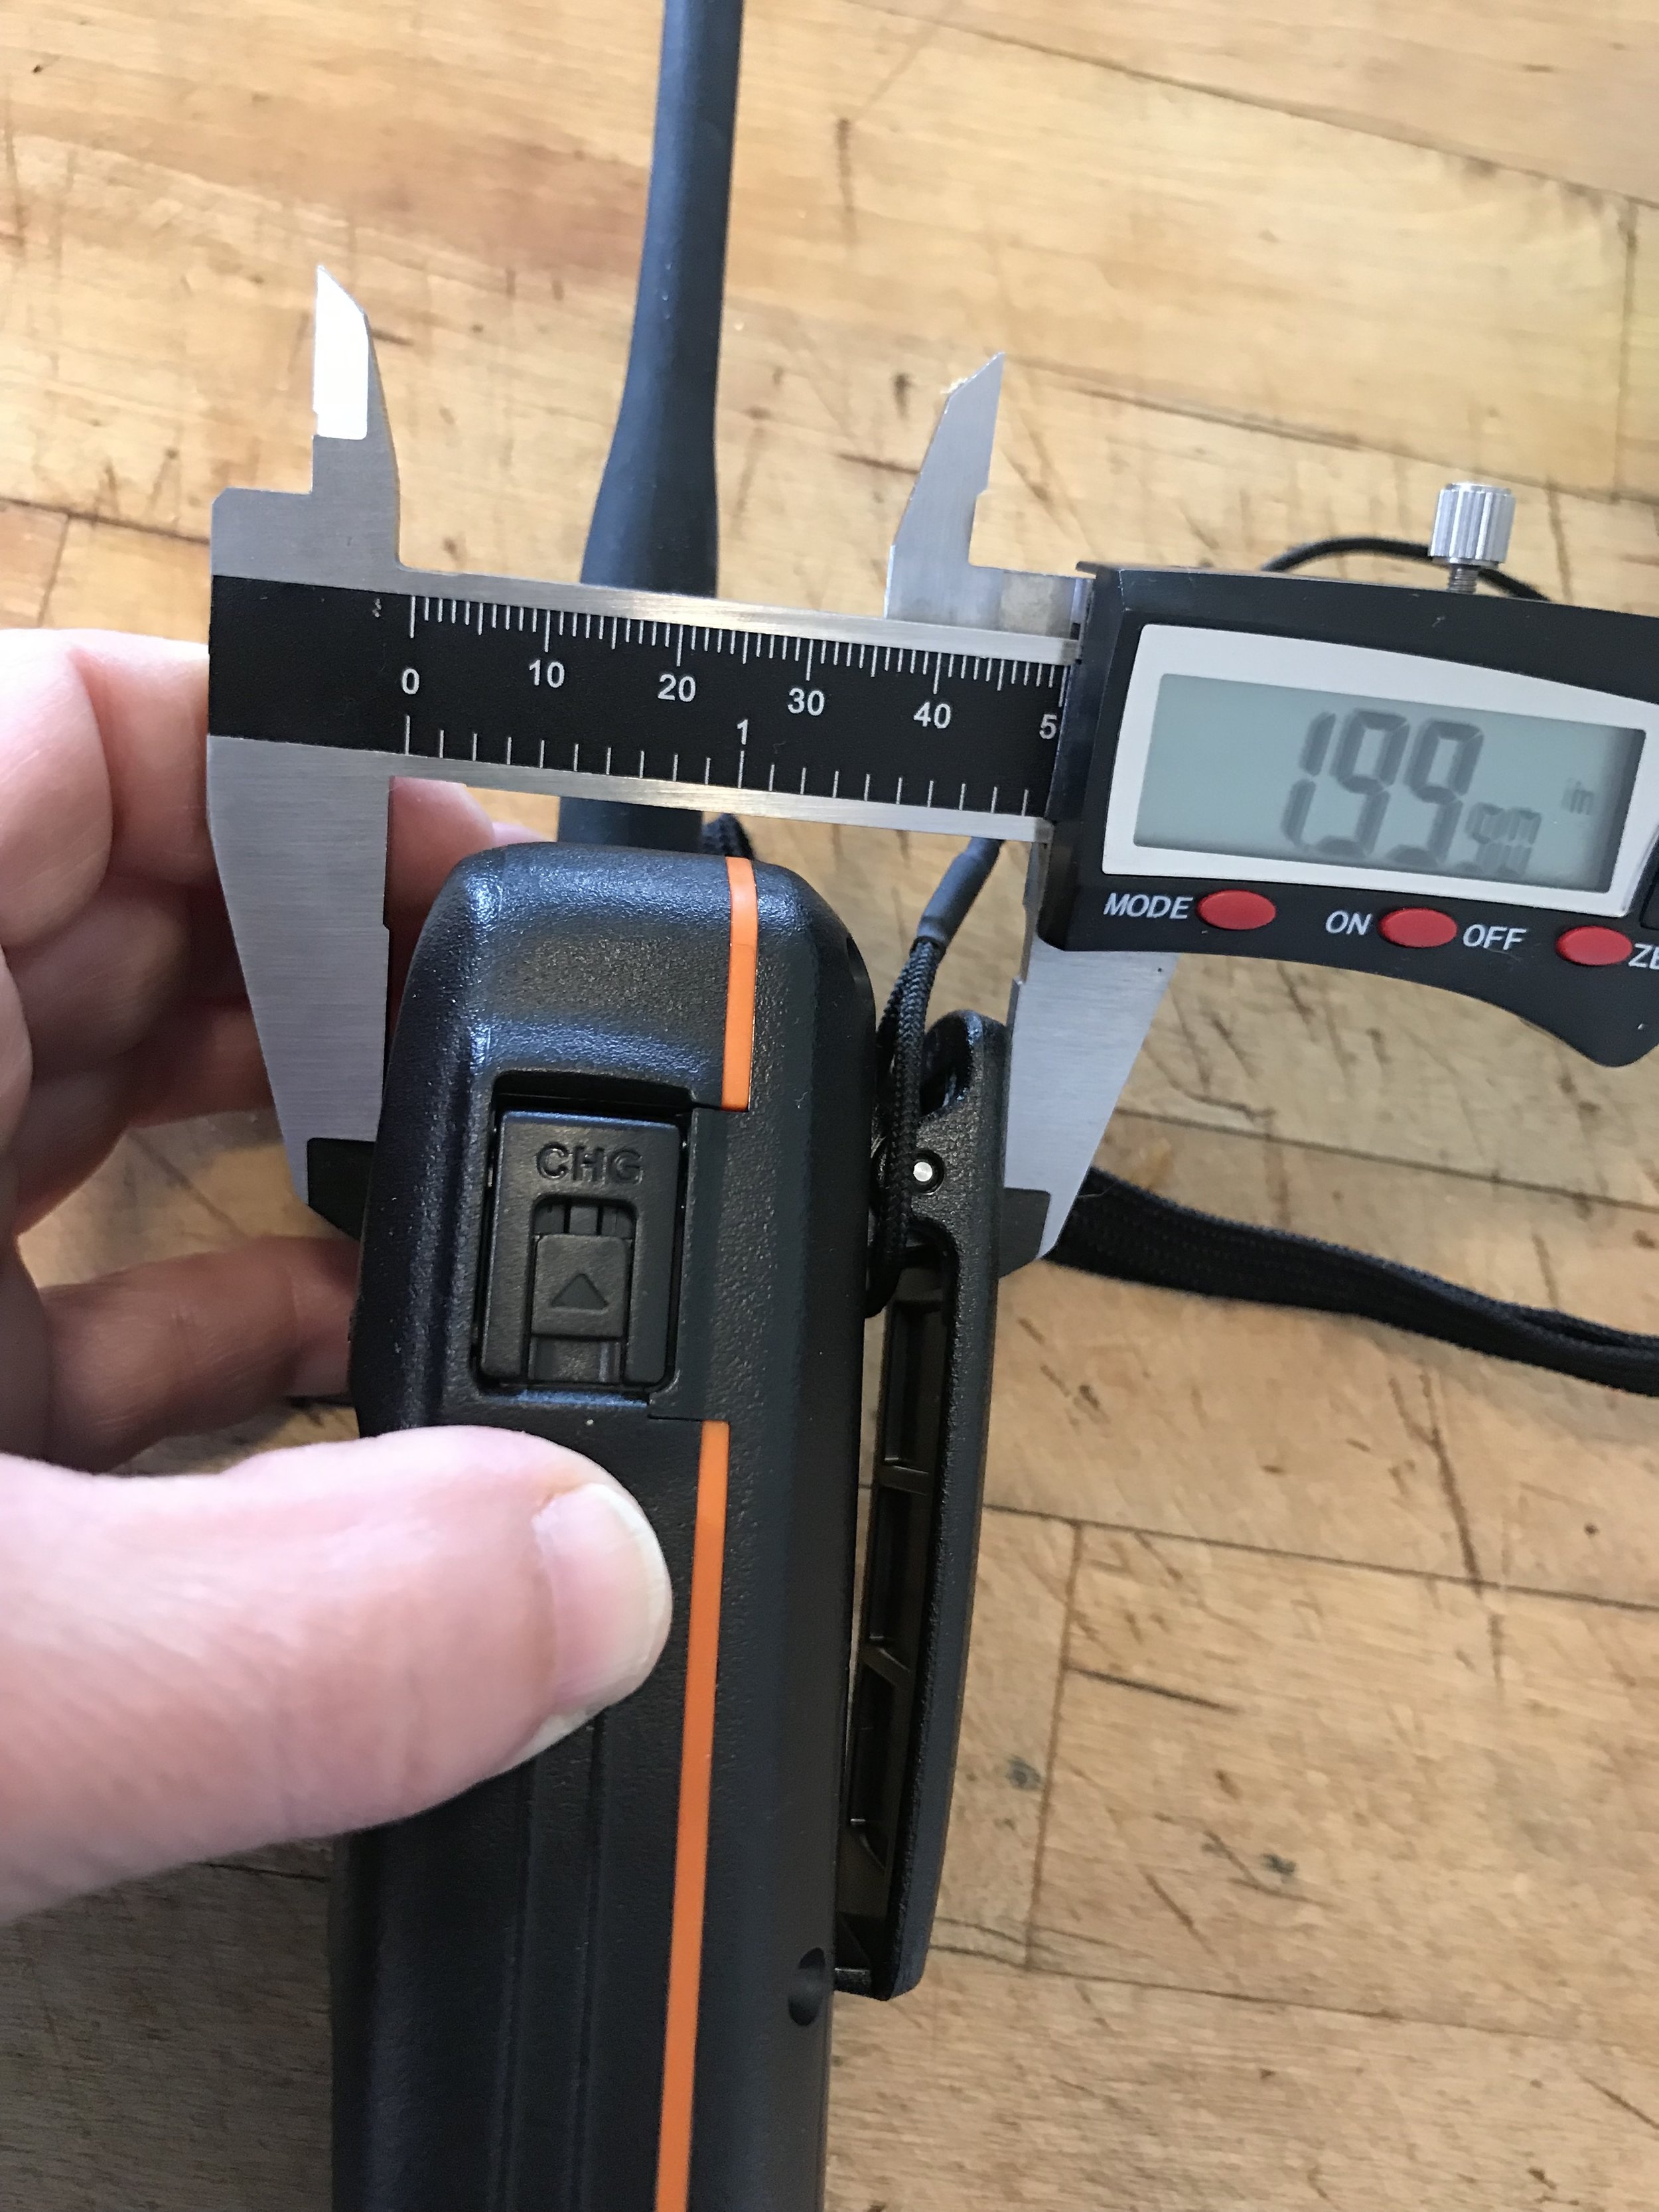
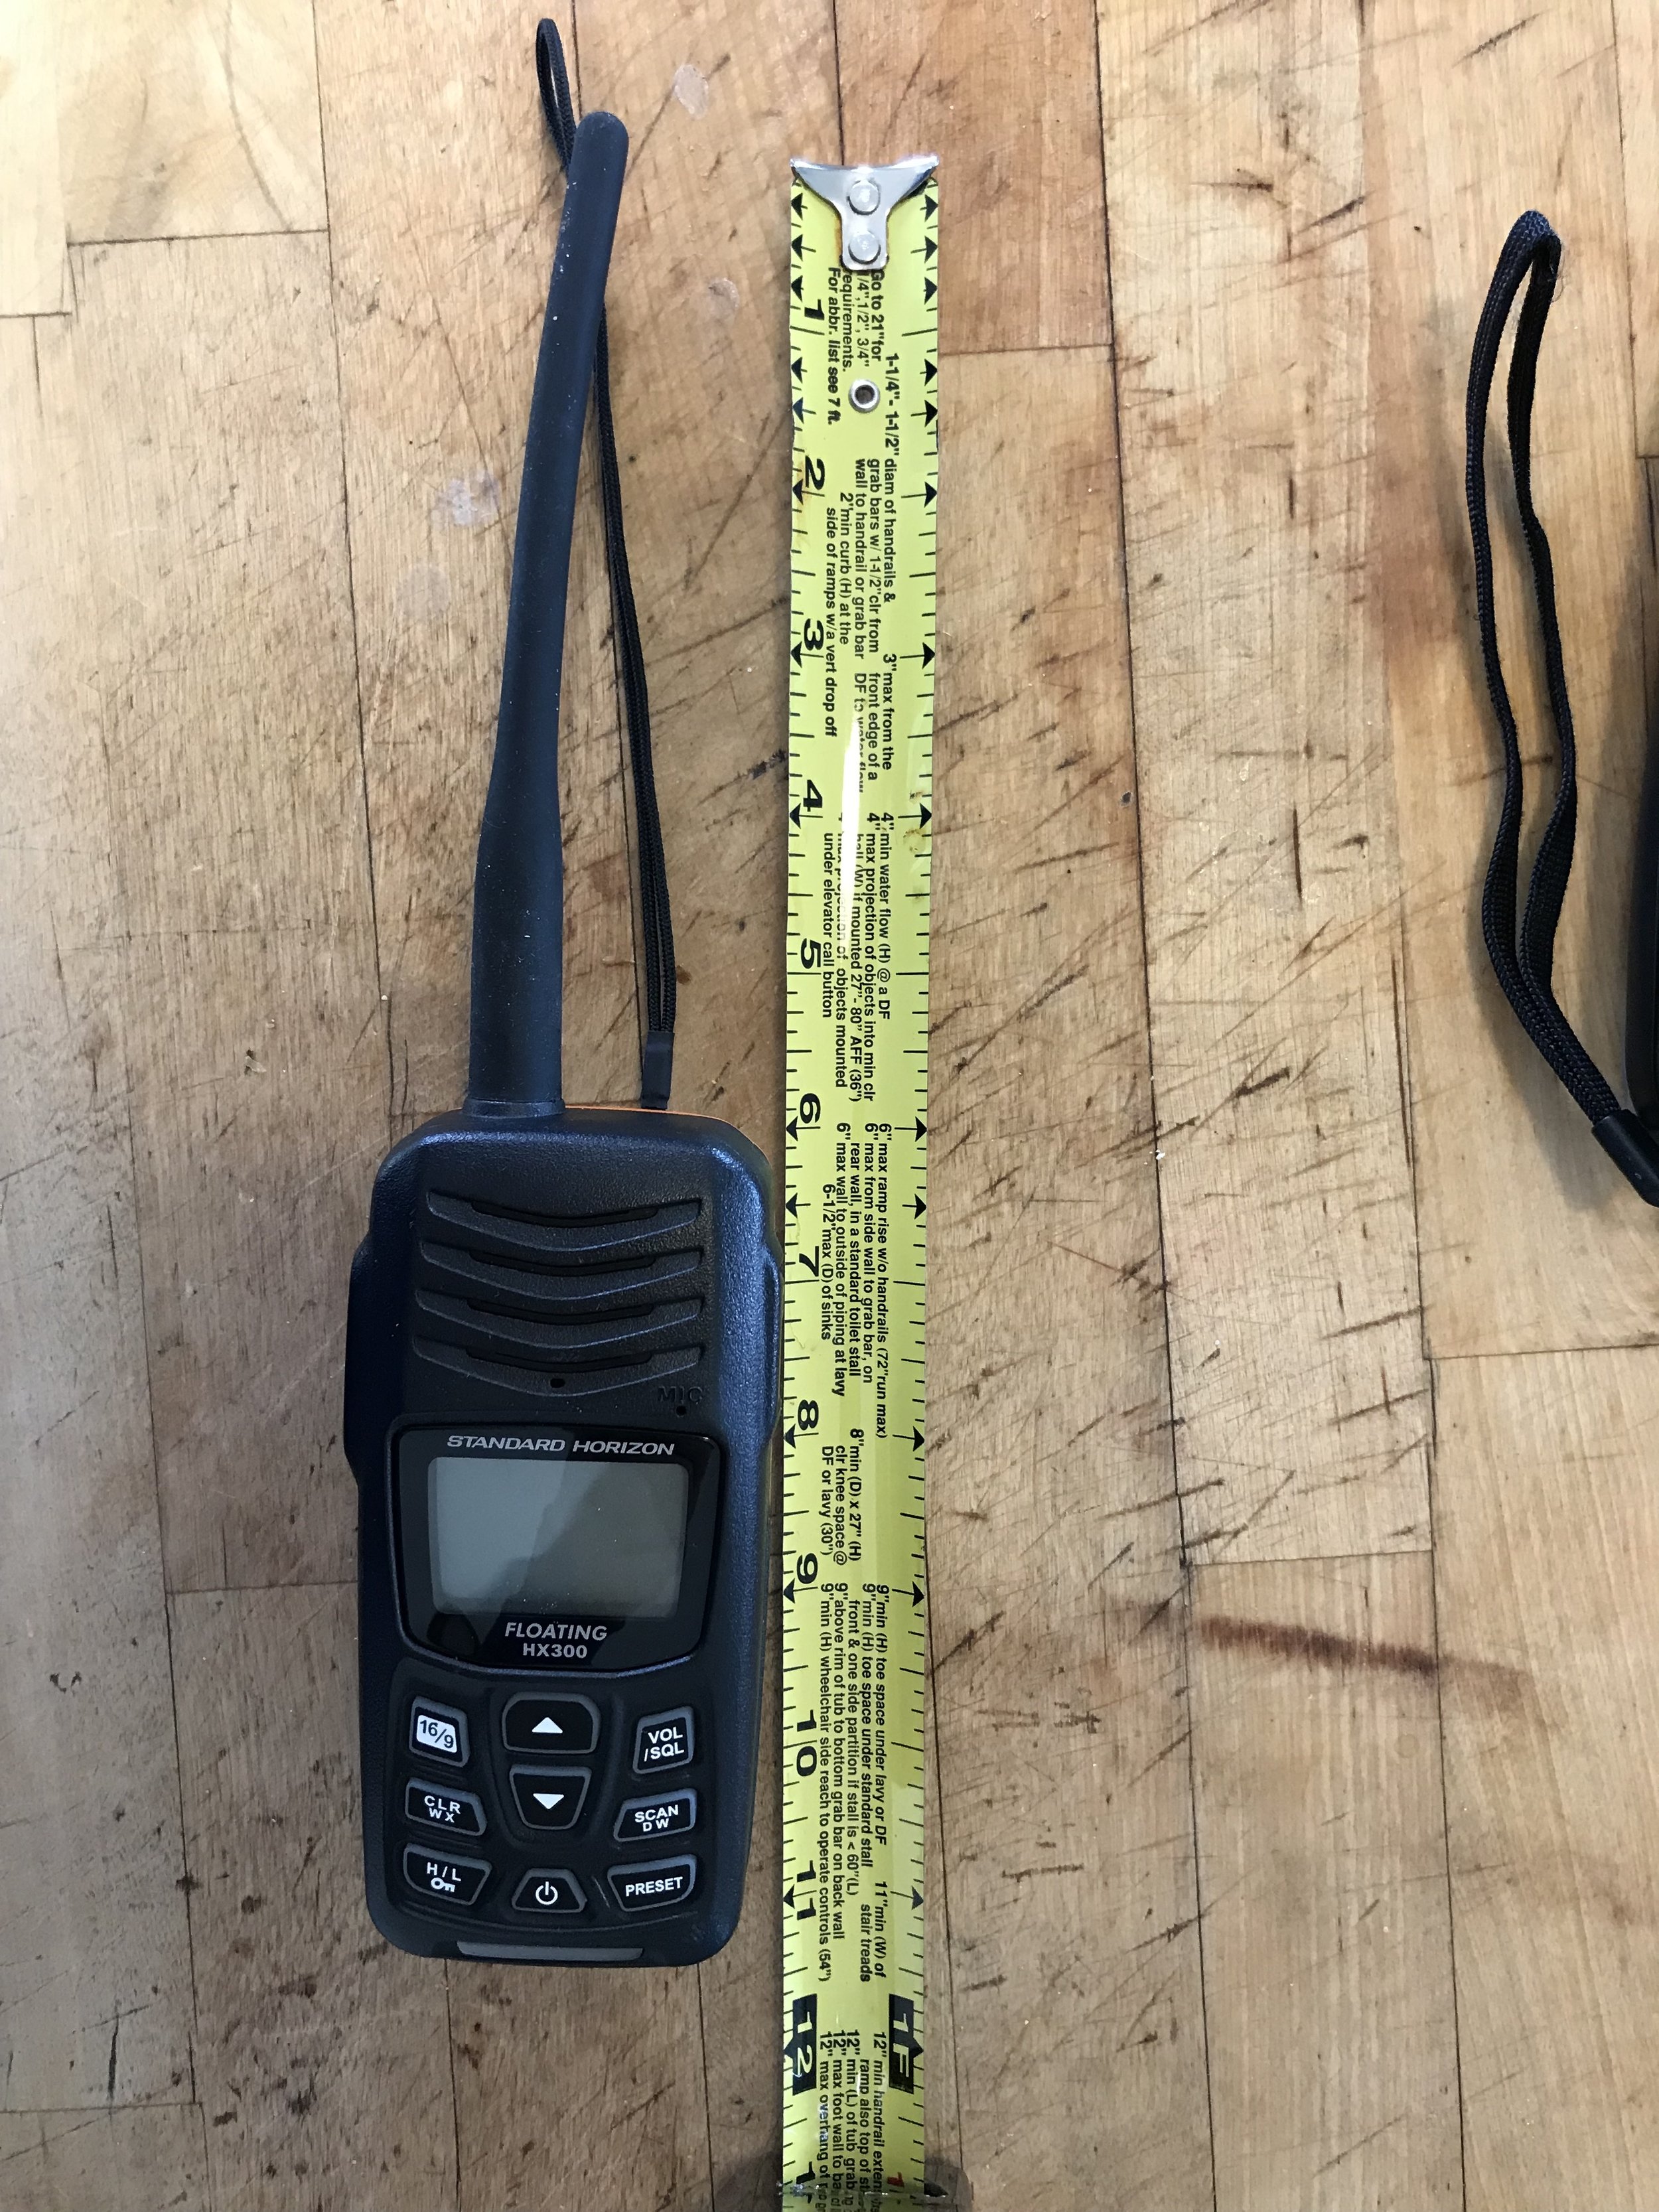
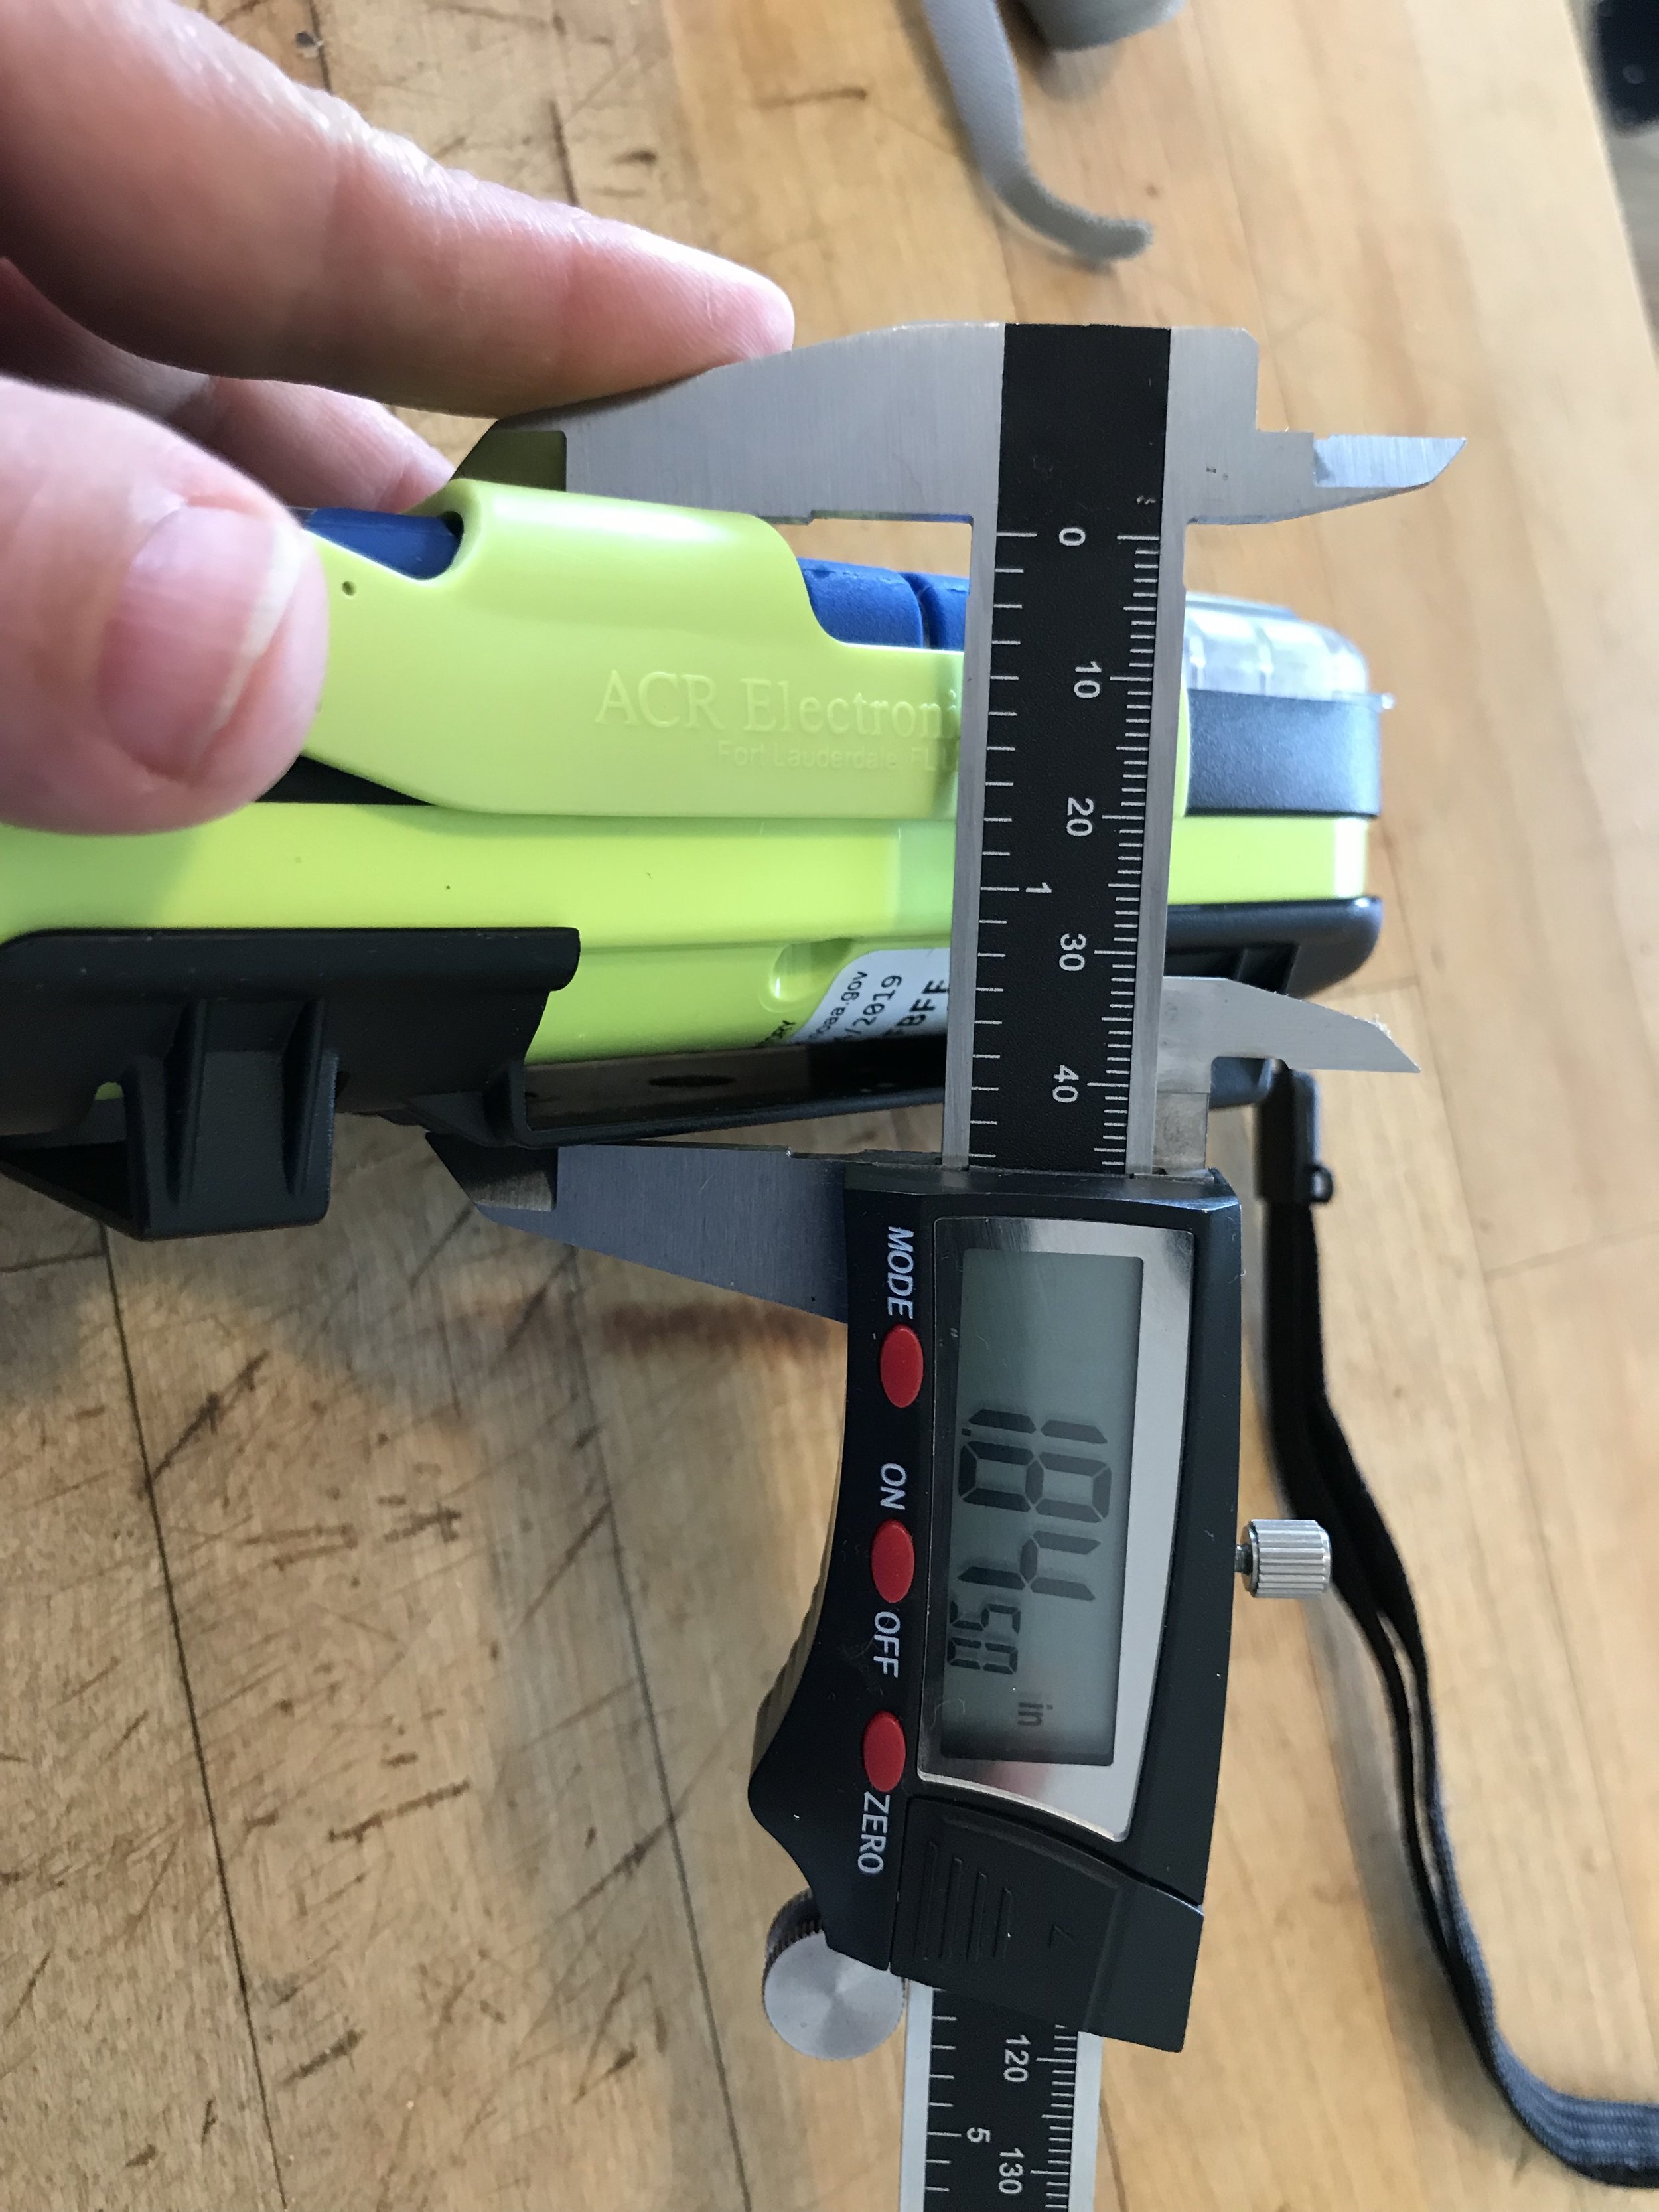
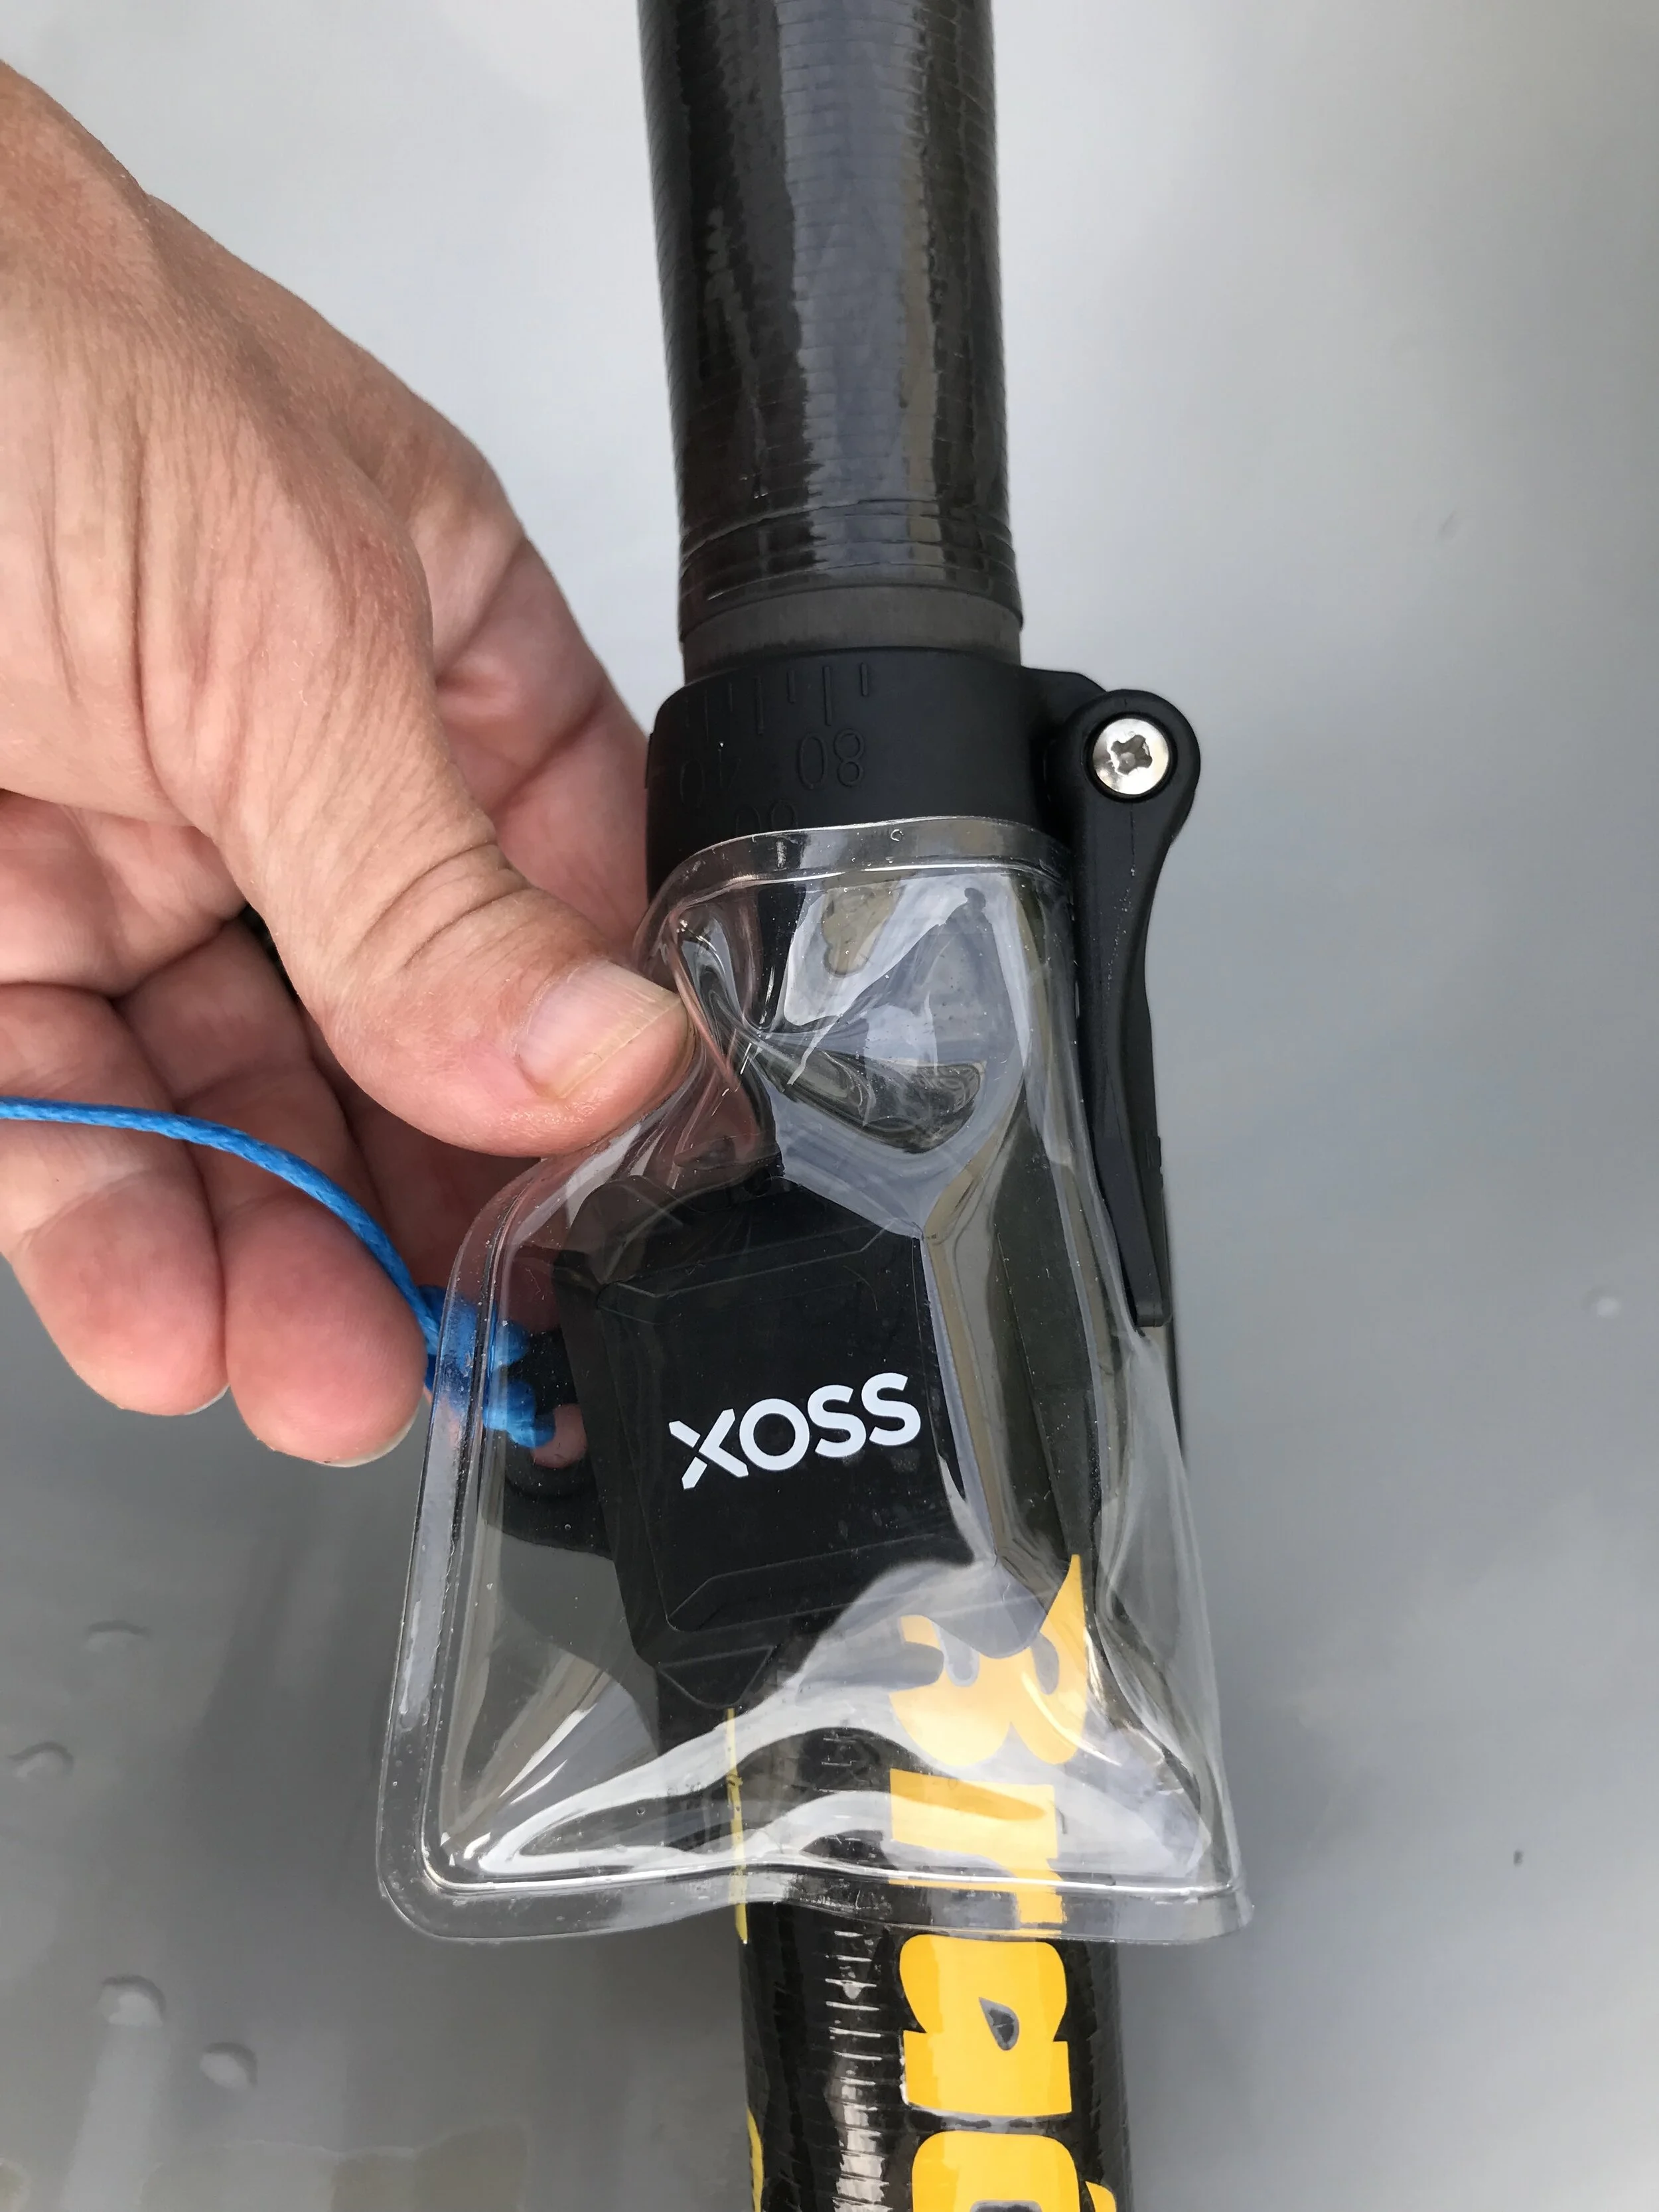
The XOSS G/G+ is waterproof rated to IPX7, meaning it can withstand heavy water droplets and be submerged to one meter for 30 minutes. I still put it inside a $10 USD Dripac because the rubber plug that covers the USB charger connection could fail. Cheap insurance. (I had this type of USB plug fail on a Standard Horizon marine radio).
The battery life is 25 days with use at 1 hour a day. In other words, take it out for a long paddle and it will last all day.
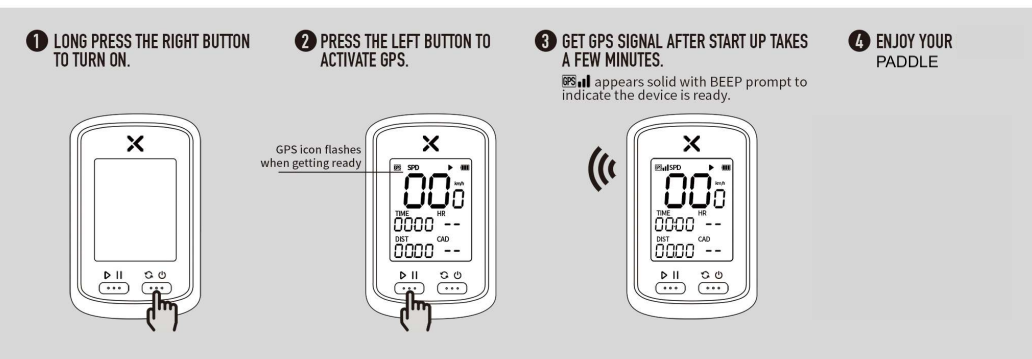
HOW TO SET IT UP FOR PADDLING:
1: Charge the included lithium battery with the USB cord provided.
2: Turn it on with the right button. Wait for the initial screen to come up showing 00:00 in the data fields.
3: Press the left button once. This initiates the GPS, which scans for a satellite signal. You should be under a clear sky. If you try it inside or under a covering, you might not pick up the signal. While it searches it will flash a little GPS icon on the upper left. It will beep when it locks in and the GPS signal will become steady.
4: Go paddling.
Yes, that’s it. That is all there is to using it as a real time speedometer. The speedometer data is the largest data and pretty easy to read. I prefer km for speed and distance, which is the default setting. If you need to change defaults do this before you go out for a paddle. You can get the pdf manual here: Xoss G/G+ manual.
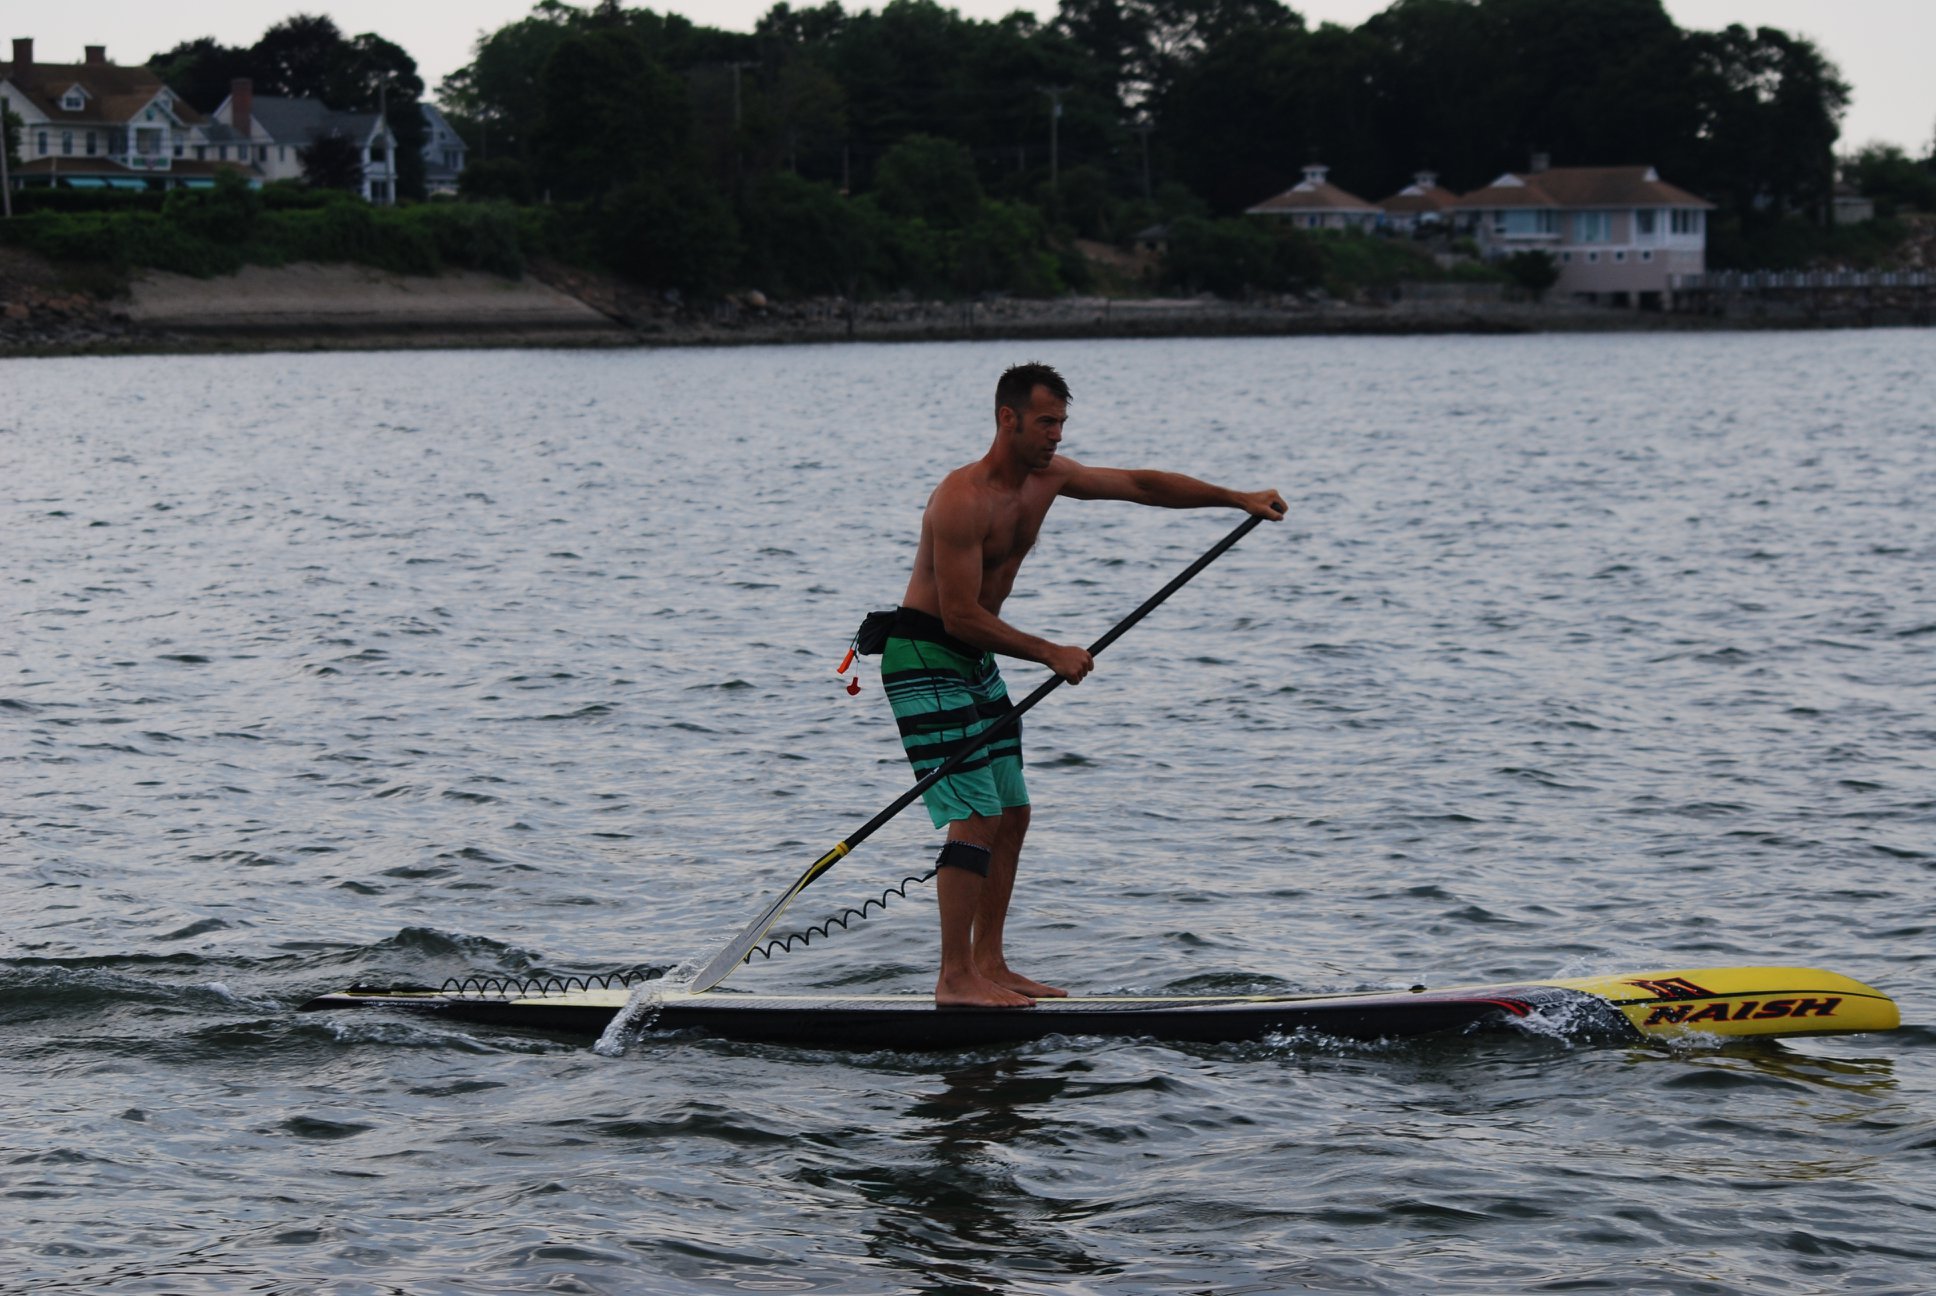
I was able to adjust my surfski stroke for immediate improvements and gain .5km in speed overall very quickly. I’m fairly new to surfski, which is tremendously technical, so figuring out how to position the wing blade and press down in the water as I rotate to gain speed was very satisfying. It was also very satisfying to have only spent $37 USD to get a speedometer. What I did not realize is that Xoss also has its own app which connects to Strava (and other software). If you want to review your data on your smartphone follow these steps:
1: Download the Xoss app. (You can use the QR code that comes with the instructions to connect to it).
2: Download the Strava app.
3: You will need to have a Strava account and a Xoss account confirmed through an email. Once confirmed you are ready to connect the Xoss G/G+ to your phone via Bluetooth.

CONNECTING THE XOSS to your phone and Strava via Bluetooth.
1: Open the Xoss app. Click on your device. (Bluetooth must be on). It will bring up your device. Click on that, and it will load a page where it syncs to the Xoss. Here you also have to connect to Strava. Be patient. It took me a few tries. VERY IMPORTANT: You can’t sync data if the Xoss is still recording. To stop recording LONG PRESS the left button once.
2: It will recognize the data but there is a little button you have to click for the full sync to Strava.
3: Once synced you can click the Workouts icon and it will open the Strava data inside the Xoss app. Here you can review data and also watch a video of your paddle.
After poking around on the internet and looking at the instructions I soon realized there are add-on sensors. The Xoss G/G+ unit is a speed sensor but you can add a cadence sensor to it. This is what you see in the image above. It can be confusing because they are also sold in 2 packs as speed and cadence sensors. These are standalone sensors that can be synced to your phone, if you were just using your phone as the data screen. They are also identical sensors and each sensor can be used for speed or for cadence based on a setting. I only wanted cadence because the Xoss G/G+ is my speed sensor and screen.
If you want a cadence sensor buy a single unit, remove the battery and reinstall. If a blue light comes on it has been switched to cadence sensor. Yes, that is correct, merely by taking out the battery then putting it back in, you change the function of the sensor. You can use the Bluetooth connect screen in Xoss to find the sensor, and if you swing your arm around in a circle it will start registering the “cadence.”
The cadence sensor instructions show you how to mount it on a bicycle pedal. It put mine into another Dripac bag and just clipped it to the center of my Braca paddle. For outrigger I would tape it to the base of the handle. For SUP tape it below your lower hand on the shaft.
Follow the Xoss directions for pairing your sensor to the Xoss G/G+, and in less than a minute you will be able to see your cadence data while you paddle also. The display for this data is small, so I just review it after I paddle on my iPhone.
You may not care why the sensor works just as well for paddling as it does cycling, but I will explain anyway: the same sensor that knows whether your phone is “up” or “sideways” for changing the display is called an accelerometer. These are used for XYZ positioning. The computer program then uses this data to perform the next step. In the case of the cadence sensor it basically takes a rotation and calls it an RPM. As long as the sensor can pick up your paddle rotation, it will log the motion.

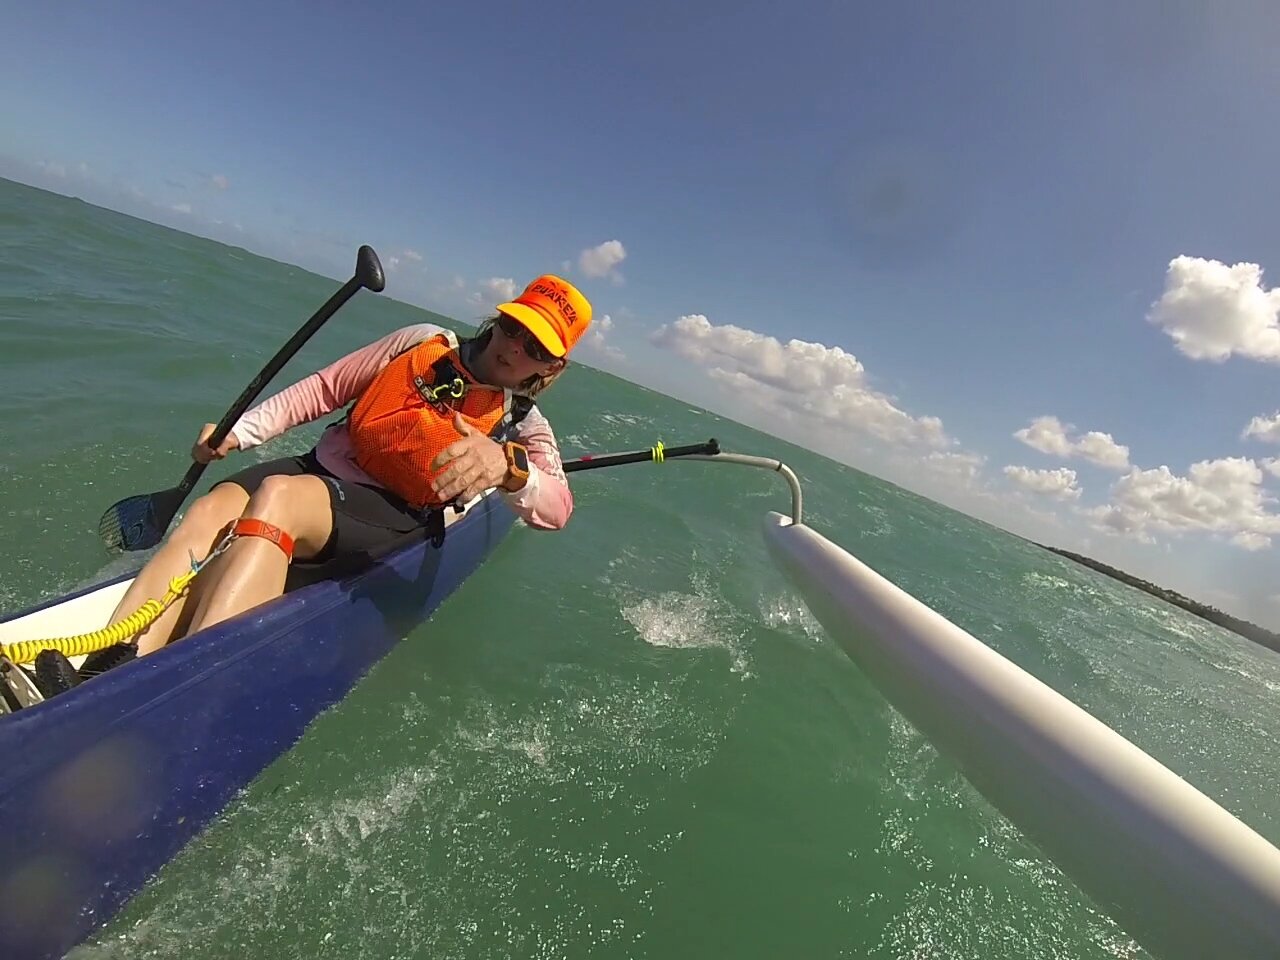
Read RPM as stroke per minute. This is surfski stroke data. This will work for any paddling sport.
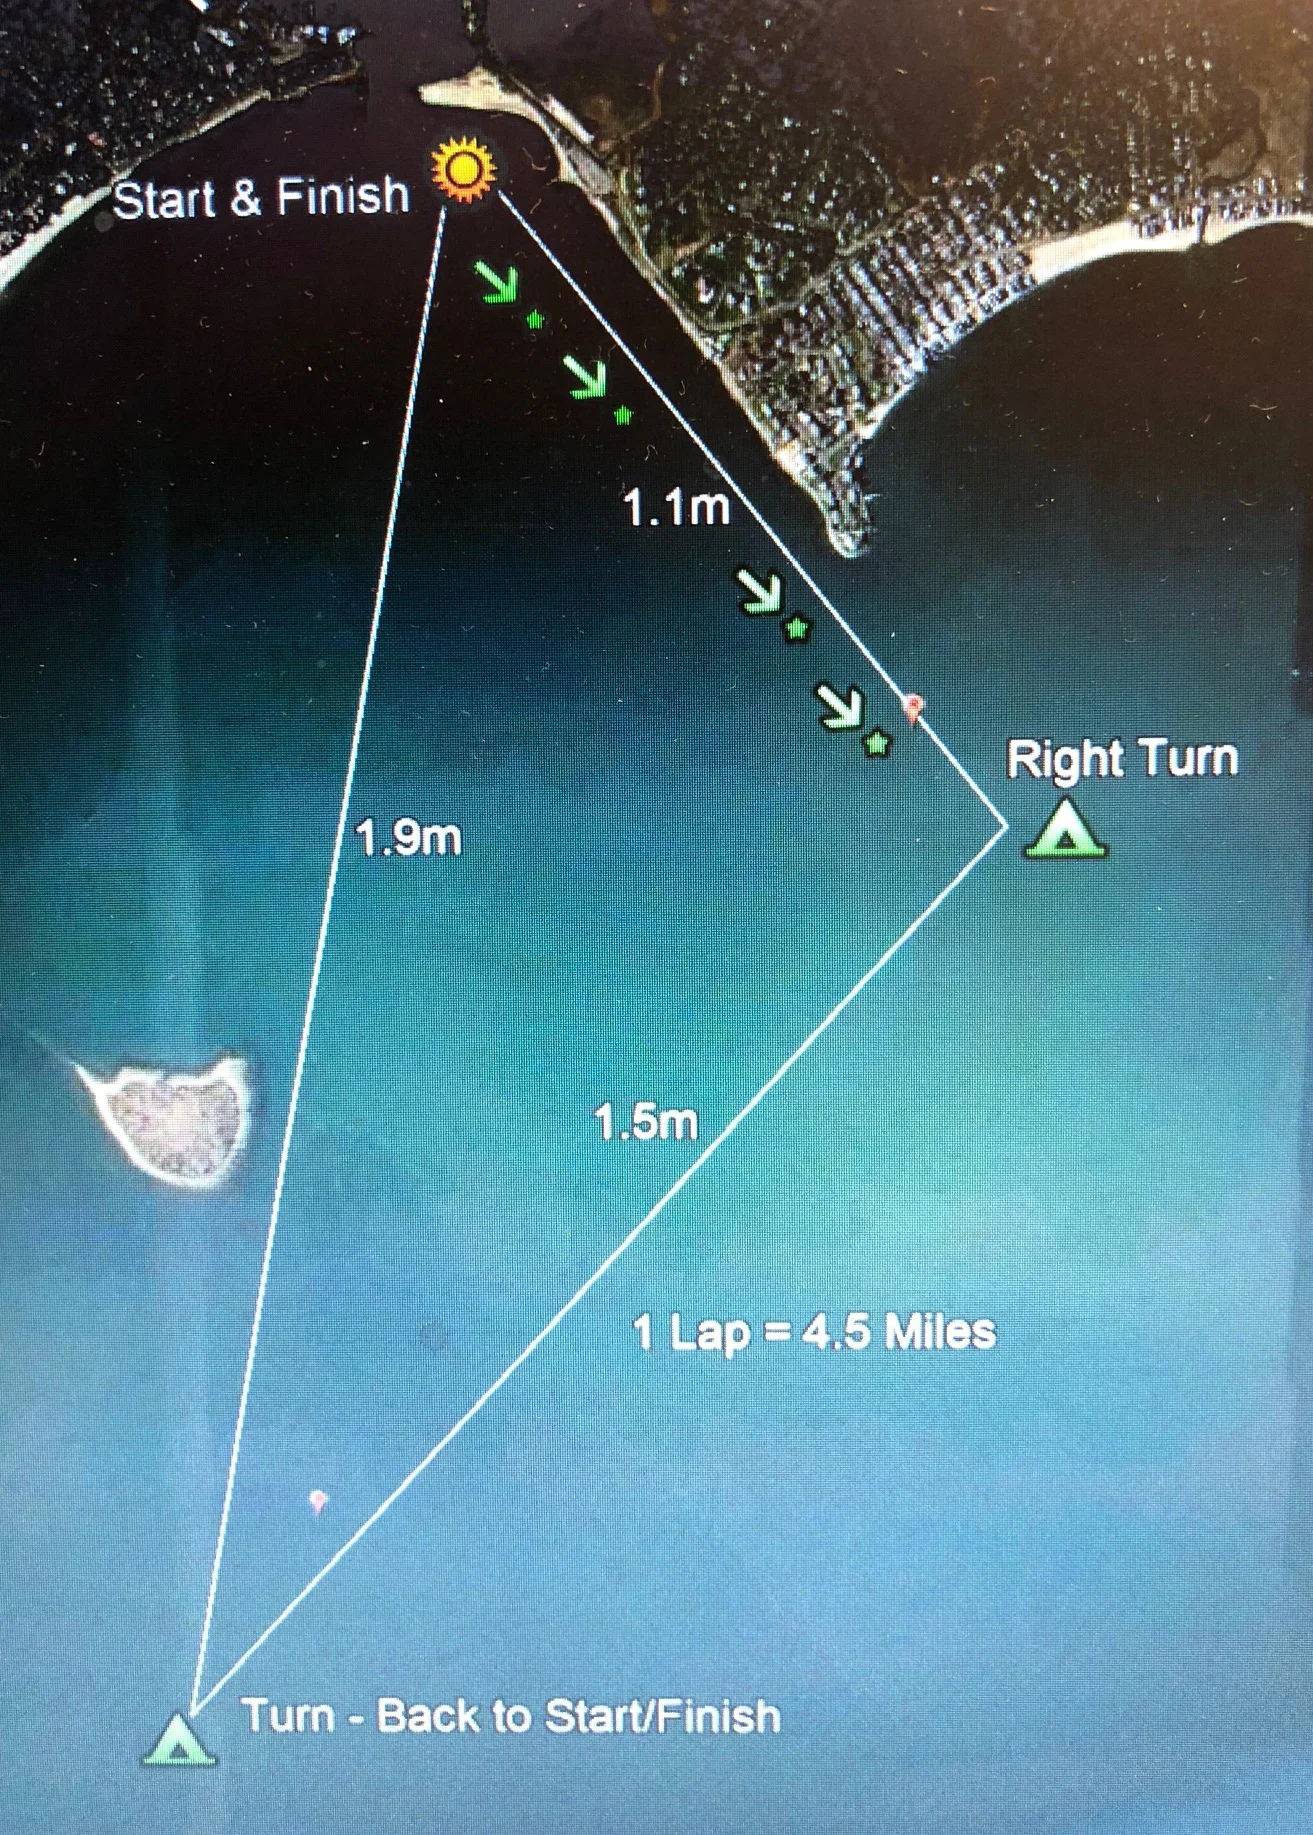
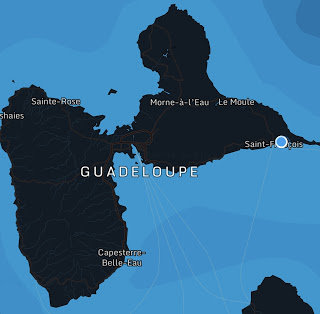
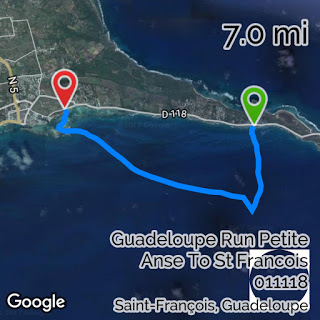
Ocean conditions change all of the time, so stroke rate varies considerably. Here I tried a high rate upwind and a low rate downwind. I expect to vary my cadence during race conditions and will use the speedomter as my guide during the race.
Have fun, stay safe, and see you on the water!
ARDUINO ADDENDUM: I make small electronics and have all of the parts I need for around $25 USD to make a speed coach type of computer using Arduino programming language. The biggest issue is getting a good readable screen in a watertight housing. Apps are also available for iPhone and Android that accomplish the same thing, but the phone battery life struggles during a long race, and the phone overheats in a waterproof case. If you want to make your own Arduino speed coach, you can link to that kind of project here: Arduino.