I did a very lazy huli (boat flip) on the Hudson River without thinking through that I had cut an 8" hole in the Puakea Kaku just behind the seat. This was patched in with a deck plate and white silicone. It wasn't until I had righted the craft and paddled back to shore that I realized I should have not only checked the canoe for leaks when it was right side up in the pool but also when it was upside down. About twenty years ago I caulked a 26 story hotel as an apprentice, so I guess you can say it paid off!
 |
| Picture Perfect Portal into the Carbon Hull |
It was time to epoxy the top of the bow back into place. There was concern it might not quite fit the same way, and there did prove to be a minor snarl in the top where the major puncture had contracted during repair. Nothing some fairing compound couldn't cover up later.
 |
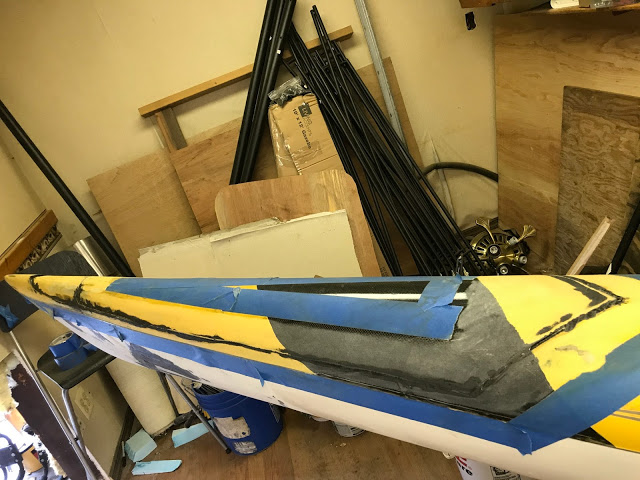
| Black epoxy used to join carbon seams |
It is critical to mate the seams and not get too ambitious with laying carbon on the exterior. If anything budges during curing, you have to cut the nose and start all over.
 |
| Black seam epoxy sanded smooth and surface of gelcoat sanded down |
Twenty four hours after the seam cured I sanded with a heavy grit (80 and 100) to smooth the epoxy at the seams and also to take down the surface of the gelcoat. At this stage we are only repairing the section above the waterline. NOTE: all critical structural repairs were done from the inside and not the outside. Blue tape was set to mark out 3" for carbon tape.
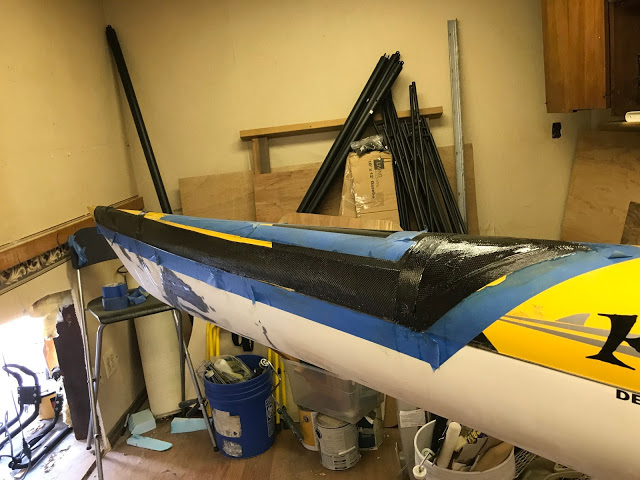 |
| Carbon Fiber Taped Seams |
Clear West System epoxy was laid in the marked out area and the carbon tape (which had been precut and dry-fit) was run across joints. Wax paper was taped around the repair and a few sand bags set in place to hold some key areas down.
 |
| Wax Paper and Sand Bagged Repair |
The next day, after successful curing, West System fairing was mixed into the epoxy to peanut butter consistency and troweled over the exposed carbon.
 |
| Fairing Compound |
The following day, it was time to sand. Always wear a respirator!
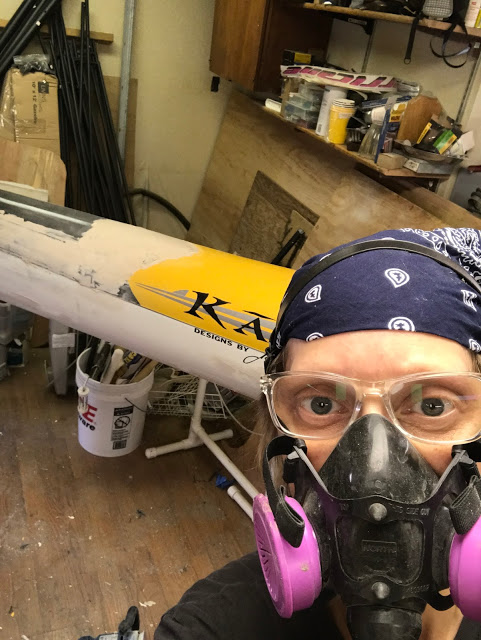 |
| Darth Paddler |
The OC1 was then spot checked across the hull for its numerous gelcoat cracks, which were chased open with a flat razor knife and then also hit with fairing compound. Below is an image of where there were structural fractures which were repaired on the inside with carbon fiber through the 8" hole behind the seat.
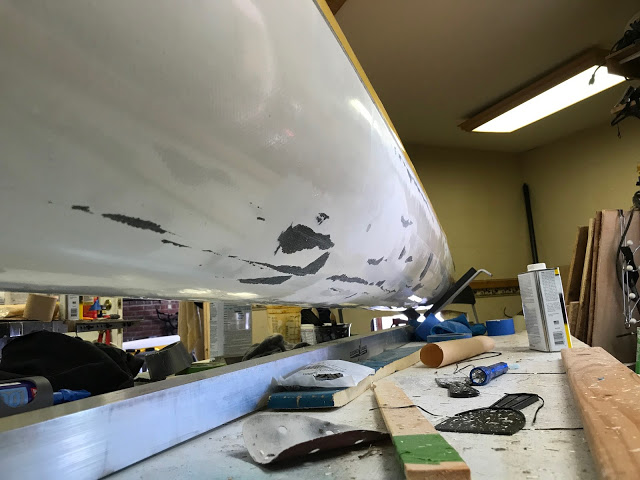 |
| Cracks chased open in gelcoat after structural repair |
You do not want the gelcoat flaking off, so its imperative you chase the crack until it stops flaking off, then lightly sand the edges of the remaining gelcoat at the perimeter. Take your time.
 |
| Pretty |
The following day I hit the fairing compound with some 120 and 240 on an orbital sander with a soft backer pad. I hand sanded with 240 and 320 to feather but decided to leave everything a touch high and spray the repair spots with a plastics paint (Krylon Fusion) and give the craft a test spin. This way if anything did not quite work out, I would not have finished the project in remorse.
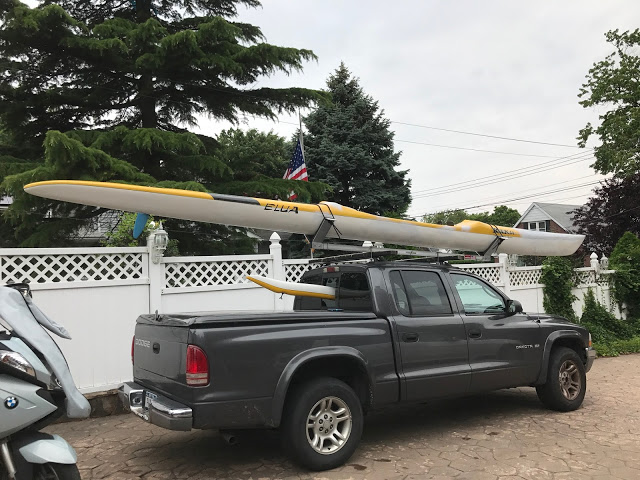 |
| Three Weeks After First Receiving the Damaged Outrigger Canoe: SEA WORTHY! |
In upcoming posts I will cover the headaches associated with understanding gelcoat, the difference between non-laminating and laminating gelcoat, tuning up the steering, rudder mounting and making your own rudder - as well as how to mount a GoPro to your outrigger. STAY TUNED!

